Fix My Speakers 🔊
Remove 💦 Water & Dust From Your All Device Speakers.
Tap the button above to start the cleaning sound. Tap again to stop it.
Are You Looking For how to Fix My speakers? Smartphones have become basic needs for people today since they handle contacts with others and fulfil work and leisure tasks. Your phone speaker quality affects every aspect of your digital life because you rely on it for music streaming, video calls, and watching videos. Smartphone speakers experience damage more than any other part of mobile devices.
Regular contact with water and dust might ruin your speaker and lower its sound output. Many users experience trouble with their audio playback quality because the issue affects them too. Water and dust deposits in mobile speakers produce these frequent problems. Water and dust inside your phone cause both performance problems and require expensive repairs if not resolved urgently. Thankfully, there’s now a simple, effective solution to this widespread issue: Fix My Speaker
What is Fix My Speaker?
This revolutionary web-based tool uses low-frequency sound waves, typically at 165 Hz, to expel trapped water and dust particles from your smartphone speakers. this speaker cleaner uses non-destructive methods to help everyone restore their device audio so they do not need special technical skills. This manual shows you how Fix My Speaker works while explaining why it does such a good job at maintaining device audio quality and how routine speaker upkeep lets you keep your smartphone’s sound clear.
Preparing for Speaker Cleaning

A full picture helps determine the quickest way to clean your speakers. Looking at speakers with good lighting shows dust buildup, moisture spots, or any debris that might affect sound quality.
Original assessment
We checked the speaker grille to spot any dust or moisture. Take a close look at speaker parts to find dirt buildup or possible damage. On top of that, it helps to test the audio output for any distortion or muffled sound that points to internal problems. The speaker’s material makeup guides you to pick the right cleaning methods for metal, plastic, or fabric surfaces.
Gathering work to be done
Your speaker cleaning success depends on having the right tools. Here’s what you need:
1. Lint-free cleaning cloths
2. A soft microfiber cloth (both dry and slightly
3. A clean feather duster or soft-bristled brush
4. Compressed air can
5. Gentle cleaning solution (mild soap if needed)
Paper towels should be avoided since they leave behind fibers that could harm speaker parts. These tools help you clean thoroughly without damaging sensitive speaker components.
Safety precautions

The right safety steps protect both your speaker and you. Therefore, speakers must be unplugged from power sources before you start cleaning. Take off any jewelry that might scratch the speaker cabinet during the process.
Speaker components need careful handling, especially tweeters which can break easily under too much pressure. Electronic connections need special electrical contact cleaners instead of regular cleaning products.
Your cleaning space is a vital part – keep temperatures between 18°C to 45°C to avoid temperature damage to components. More attention should go to humidity levels to prevent moisture problems during cleaning.
Speakers with removable grilles need a quick check of their attachment system before you take them off. Some grills don’t come off by design, so you’ll need to use cleaning methods that keep the speaker’s structure safe.
Digital Solutions for Speaker Cleaning: Revolutionizing Audio Maintenance
In the age of modern technology, maintaining smartphone speakers has never been easier. Gone are the days when physical cleaning tools were the only option to address muffled sound or dust-related issues. Today, specialized digital solutions provide safe, effective, and non-invasive ways to clean your speakers.
One of the most groundbreaking advancements in this area is the use of sound-based cleaning methods. These methods leverage specific frequencies to vibrate the speaker diaphragm, dislodging water droplets, dust, and other debris trapped inside. The process eliminates the need for manual intervention, protecting the delicate components of your device from potential damage caused by improper cleaning techniques. Tools like Fix My Speaker, for example, employ precise sound frequencies—typically around 165 Hz—to expel contaminants from your smartphone speakers with remarkable efficiency.
The convenience of these digital tools is another significant advantage. Accessible via web browsers or dedicated apps, they require no additional hardware, making them perfect for anyone, regardless of their technical expertise. Moreover, these solutions are free or highly affordable, allowing users to maintain their speakers without the need for professional assistance or expensive repairs.
Another benefit of digital cleaning solutions is their eco-friendliness. Unlike compressed air cans or chemical cleaning agents, sound-based methods leave no waste behind, making them an environmentally conscious choice for maintaining your device.
Today’s digital solutions are essential tools for smartphone users who want better ways to take care of their devices. These advancements help maintain your speakers’ perfect performance to produce better sound for an extended period.
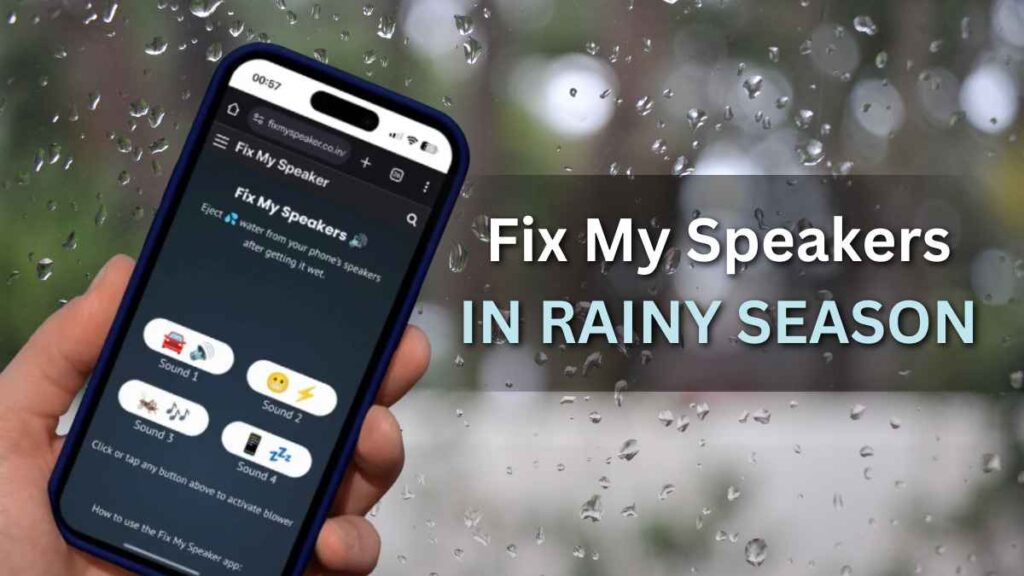
Understanding Fix My Speaker app
Fix My Speaker is a web-based app that helps fix common speaker problems through sound technology. The app uses specific audio frequencies to clean dust and remove moisture from speakers.
Fix My Speaker comes with these features:
Sound waves that remove dust and debris
A way to eliminate moisture from water-damaged speakers
Sound quality restoration
Easy-to-use interface
No downloads needed – it’s free to use
Setting optimal volume levels
The right volume level is vital to clean your speakers properly. You should set Fix My Speaker to 50% of your device’s maximum volume. After cleaning, check the sound quality at 70-75 dB to protect your hearing and ensure everything works well.
Indoor sound systems need careful attention to volume. The best level for indoor spaces ranges between 75-80 dB. This balanced approach prevents distortion and makes sure the cleaning works effectively.
Using sound frequencies effectively
The app uses a precise 165Hz frequency to shake loose water and dust from speaker parts. These sound waves create controlled vibrations that remove dirt without damaging anything inside the speaker.
High-frequency sounds between 20 kHz and 100 kHz work great for removing dust. These frequencies make dust and debris vibrate away from the speaker’s surface naturally. This method is safe and environmentally friendly because it doesn’t need any chemical cleaners.
The cleaning takes about 30-60 seconds. You should pick a quiet place to get the best results. The app gives you eight different repair sounds that target specific speaker problems.
Sound waves interact with moisture and particles in a specific way. They create precise vibrations that help water molecules and dust break free from speaker membranes and internal parts. This technology keeps your speakers clean without risking damage to sensitive components.
Step-by-Step Water Removal Guide

You need to act fast when water gets into a speaker. The right steps will help remove water and stop permanent damage to your device.
Immediate actions after water exposure
Switch off the device right away to stop electrical damage to internal components. Take out any SIM cards and SD cards from their slots to prevent data loss and let air flow better inside the device. Use a soft, dry microfiber cloth to pat the exterior dry and remove surface moisture.
You can remove visible water by pointing the speaker’s openings downward and tapping it against your hand. Water droplets will naturally fall from the speaker’s openings this way. Don’t use paper towels even if you want to – they leave behind unwanted fibers.
Using sound waves for water ejection
Sound wave technology is a great way to get rid of trapped water. The Fix My Speaker app creates carefully adjusted tones that generate specific sound wave patterns. These vibrations push water droplets out from the speaker’s complex mechanisms.
Here’s how to use this method:
Turn the volume up to maximum
Set the phone on a flat surface
Start the water ejection feature
Let the process finish its cycle
The app uses exact frequencies that strike a chord within the speaker chamber and create vibrations to force water out. This stops moisture from settling and damaging the speaker parts.
Drying techniques
After the first round of water removal, you can try several proven methods to eliminate moisture completely. Silica gel packets work best at soaking up leftover moisture – put your device in a sealed container with multiple packets for 48 hours. This method works better than using rice.
A vacuum cleaner with gentle suction can help pull remaining water from speaker openings. Just make sure to use car vacuums or regular vacuum cleaners on their lowest setting to avoid damage. Let the device sit in a room-temperature spot with good air flow until it’s completely dry.
Getting rid of all moisture becomes extra important in cold weather since freezing can stop your speaker from working. The whole drying process usually takes 24-48 hours. Don’t use the device during this time so all parts can dry properly.
Effective Dust Cleaning Strategies
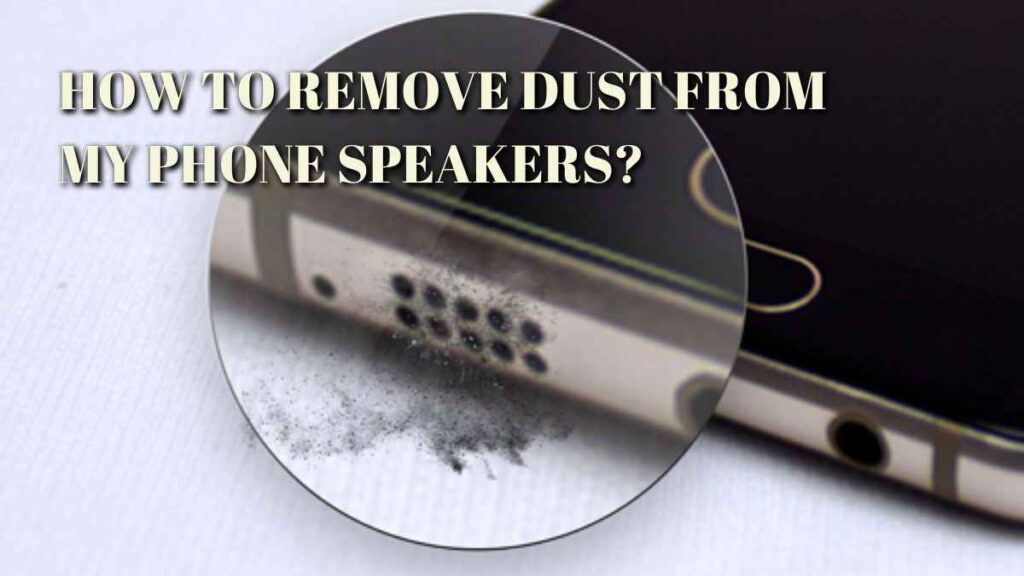
Dust can seriously harm your speaker’s performance by affecting sound quality and how long components last. You’ll get better audio and longer speaker life with regular cleaning.
Surface cleaning methods
The quickest way to clean speaker surfaces starts with a microfiber cloth to remove dust from external areas. You might need to spray a bit of cleaning solution on a slightly damp microfiber towel for those tough fingerprints and smudges.
Cotton swabs work great for cleaning around dials, knobs, terminals, and connectors. A blast of compressed air or a soft vacuum brush will clear dust from vents and fans. Each speaker grille needs specific cleaning based on its material:
Metal or plastic grilles: Clean with soapy sponge and rinse
Fabric grilles: Use lint roller or soft vacuum brush
Non-removable grilles: Apply compressed air or vacuum
Deep Dust Removal
Different speaker parts need special attention during deep cleaning. A soft camel’s hair brush or artist’s brush works best for speaker cones. Dome tweeters are delicate – compressed air is your safest bet.
A good deep clean once a year will give a full tune-up. You’ll need to disconnect and take apart components to reach those hidden spots. This gives you the chance to organize components and fix tangled cables too.
Craig Pro Gold or Deoxit cleaners work best for electronic connections. Of course, stay away from harsh chemicals or too much moisture since they can damage sensitive parts.
Prevention Tips for Fix My Speaker
A regular maintenance schedule will keep your speakers performing well. Weekly cleaning with a microfiber cloth or feather duster stops dust from building up. You might want to use protective covers when speakers sit unused for long periods.
Your room’s environment plays a vital role in dust prevention. Weather strips around doors and windows help keep dust out. Air purifiers protect your speakers and make your listening space healthier.
Place speakers away from direct sunlight and keep room temperature steady for the best protection. Good airflow helps prevent dust buildup. Don’t smoke or eat near your audio equipment to avoid contamination.
Testing Speaker Performance
Speaker testing will confirm if your cleaning efforts have worked well. A step-by-step approach helps you find any remaining problems and verifies that everything works properly.
Related Post
- Ear Speaker Cleaner Sound: How to Maintain Crystal-Clear Audio


- How to Fix My Laptop Speaker: A Comprehensive Guide
- How to Remove Water from Your Speaker: A Step-by-Step Guide
- How to Clean Your Phone and Other Devices: A Step-by-Step Guide
- How to Fix a Water-Damaged Phone: A Comprehensive Guide with Fix My Speaker

Sound quality checks
Sound quality testing needs specific parameters. So, go to the official website Fix My Speaker or www.fixmyspeaker.org,The first step is to check how the speaker handles different frequency ranges. A speaker in good condition should produce clear sounds at high, mid, and low frequencies without any distortion.
The testing process should use music of all types because each type shows different aspects of the speaker’s performance. Bass response testing shows if low-frequency sounds stay clear without distortion. A look at treble clarity will tell you if high frequencies are reproduced correctly.
Primary testing parameters include:
Sound-stage separation and detail
Harmonic balance
Vocal clarity
Bass extension and tightness
High-frequency presence
Volume testing of Fix My Speaker
The right volume levels are essential to start your assessment. Speaker testing indoors should stay between 75-80 dB to get the best results. The test should begin at moderate volumes and increase slowly to spot potential problems.
Right after cleaning, listen for crackling or distortion at different volume levels. The sound should stay clear no matter the volume level. Any inconsistency might mean there’s still moisture or debris affecting how the speaker works.
Volume problems often come from bad connections, so make sure all wires are secure and connected properly. Loose connections can make the sound cut out or cause channel imbalance. Testing both channels will show if the output stays balanced at all volume levels.
Identifying remaining issues
Fix My Speaker testing helps you spot stubborn problems that need more attention. The most common signs of remaining issues include uneven frequency response, distortion at certain volumes, or sound that cuts in and out.
Speakers that behave strangely need these areas checked:
Voice coil resistance to find potential damage
Wire continuity with the right tools
Crossover functionality to ensure proper frequency distribution
Physical components to spot visible damage
The final stages of testing should include long listening sessions with different audio sources. This complete approach helps you find subtle issues that might not show up during the first round of tests. Problems that come and go often only appear after using the speaker for a while, which makes thorough testing vital to confirm full restoration.
Fix My Speaker Professional testing equipment can give you detailed analysis when home tests don’t show clear results. In spite of that, careful listening and systematic testing will find most problems. Regular performance checks will keep your speakers working at their best and prevent future issues.
Long-term Speaker Protection
Environmental factors are vital to keep your speakers working well and sounding great. The right protection against these elements will give you the best performance and make your speakers last longer.
Environmental considerations
Temperature and humidity substantially affect how speakers perform. Your speakers will work best in dry areas, away from places with high humidity. Extreme temperatures can damage speaker parts. Cold temperatures might cause condensation inside speaker terminals.
Speakers turn only 1% of electrical energy into sound during operation. The remaining 99% becomes heat. This heat buildup means you need good airflow and temperature control. Room temperature should stay between 18°C to 45°C to avoid damaging components.
Altitude and climate can really change how speakers work. Studies show high-altitude environments need extra care to manage moisture. Speakers in humid areas need more protection from moisture damage.
Fix My Speaker Regular maintenance schedule
A well-laid-out maintenance plan helps keep your speakers in top shape and stops them from wearing out. Here’s a schedule that will give you detailed care Through Fix My Speaker :
Daily Tasks:
Keep ventilation paths clear
Watch the operating temperature
Look for dust buildup
Weekly Tasks:
Wipe surfaces with microfiber cloth
Check cable connections
Listen for strange sounds
Monthly Tasks:
Clean ventilation areas deeply
Look at all connectors
Test sound quality fully
You should get professional inspections yearly. Some parts need more frequent checks, like switches and controls that can rust over time.
Protective Measures
This website ” Fix My Speaker ” provides you with good protection strategies will keep your speakers safe from common threats. Cable management is vital – organizing cables stops tangling and protects connectors. Static electricity can be a problem, especially with carpeted floors.
Power management needs special focus. Surge protectors or UPS systems protect speakers from electrical damage. Voltage regulators help keep power flow steady and prevent stress on components.
Physical protection has many parts to it. Use protective covers when moving speakers. Keep proper space between speakers and walls for good airflow. Keep them away from direct sunlight to prevent heat damage.
Outdoor speakers should go in shaded spots to avoid harmful elements. Indoor speakers do better in controlled spaces with less dust. Sound-absorbing curtains and diffusers make listening better while adding protection.
Regular cleaning is key for long-term protection. Dust pads, dry cloths, and air canisters work well for routine care. Don’t use liquid cleaners as they can harm sensitive parts.
Environmental control goes beyond just around your speakers. Air purifiers keep the air clean and reduce dust buildup. Weather strips around doors and windows help keep dust out, creating the best environment for your speakers.
Good ventilation is crucial because poor airflow can cut your speaker’s life in half. Sound systems without proper ventilation don’t last nearly as long as those with good airflow.
High-end speakers need extra attention to stay in perfect shape. Check technical conditions often to catch sound problems early. Professional servicing, particularly for full-range loudspeakers, helps maintain peak performance.
Final Thoughts
Fix My Speaker tools provide Proper maintenance and protection are essential for keeping your smartphone speakers in excellent working condition—dust buildup and water inside your device and muffle sounds which shorten both performance and life expectancy. Regularly fixing small problems will help your speakers work better and last longer so you won’t have to pay for expensive replacements. Using advanced sound wave tech provides you with the best way to keep your phone audio system working well.
Tools, like Fix My Speaker, utilize a precise 165 Hz frequency to dislodge water and dust particles without any physical contact, protecting the delicate components of your smartphone. This non-invasive method is not only highly effective but also accessible to users of all technical skill levels.
In addition to using tools like Fix My Speaker, simple habits like keeping your phone away from moisture, regularly testing your speakers, and cleaning dust from the grills can go a long way in extending the life of your speakers. Preventive care always outweighs the inconvenience of dealing with extensive damage later.
With a systematic approach to cleaning, testing, and protection, you can enjoy uninterrupted audio clarity and maximum performance from your device. Invest a little time in regular speaker maintenance, and your smartphone will reward you with long-lasting, high-quality sound. Don’t wait for problems to arise—start caring for your speakers today and experience the difference it makes.